The implementation isn’t polished as a feature that you could apply to your own documents in a UI-friendly way. However, if you’re willing to dig in a little, it’s very easy to do.
Here’s the fastest way to learn how to build one:
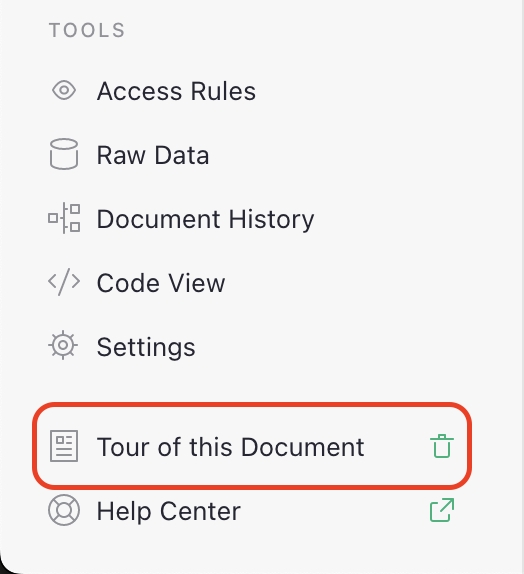
Visit a template with a doc tour and edit the URL to add /p/GristDocTour after the document’s name. E.G. Meme Generator
This reveals a special, hidden table named GristDocTour. It is only visible when you modify the url as described above.
GristDocTour may have up to 7 columns.
Title - the pop-up header; this is a text column
Body - the pop-up body; this is a text column
Placement - a text column that places the pop-up in relation to a cell with words like right, top, bottom. https://popper.js.org/ has an interactive tool that shows how this works.
Location - a text, formula column with the formula SELF_HYPERLINK()+$Location_Cell SELF_HYPERLINK adds the URL through to the end of the document’s title.
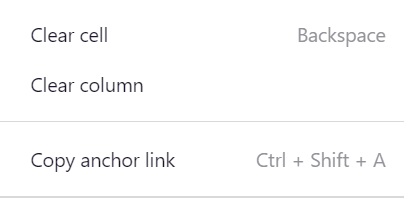
Location Cell - another text column. This is where you copy and past a cell’s anchor link from /p onwards. E.G. /p/3#a1.s3.r3.c3
(Optional) Link URL - this adds a link after the body text
(Optional) Link Text - this adds a text label to the Link URL
Hello. I like the way this works, however, I’d like to report the following:
If I have more than a few entries in the “GristDocTour” table then the “Previous” and the “Next” buttons fall outside the tooltip box.
The tour works great if I am the owner of the document, however, if I test it as an Editor, the tool tips remain on the same page/spot and do not follow the anchor links.
Is it possible to add a reference to the last valid row? For example, when a new user starts using the document, we don’t know how many records where created. But I would like to point the user to the last record, so he/she can start entering data.
If you scroll until the end of the table, and selct the last row, and then start the tour, it uses that row instead of the first one (where I created the Tour). Actually it works with any row. So it would only be a matter of telling new users to go to the last row.
After inital viewing of the doc tour the tour does not show again.
How can we, for developement purposes for a tour, reset that to see the tour again over and over?