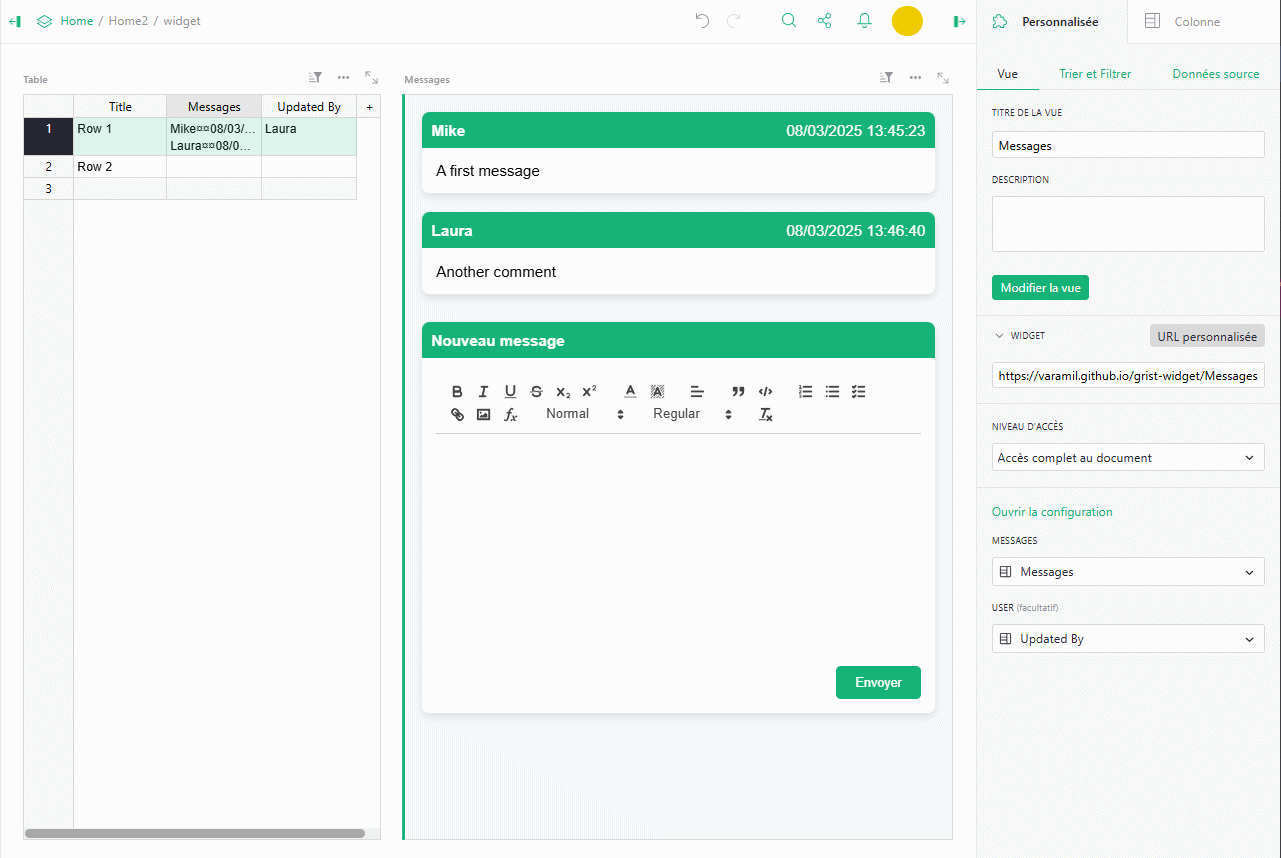
It requires at least one column in the table where you want to embed chat/comment. Additionally, you can use a second column to manage the message author.
(Currently it’s a bit tricky; I update the main column first, which lets Grist update the user column - throw formula - then I read this update and add into the main column the message with the current author).
Very nice! This will be super handy for cooperative work on documents.
Just a quick suggestion: It might be more robust to serialize the data to JSON rather than your custom ¤¤-delimited format.
At the beginning I wanted some thing verry simple that anybody (non coding) can edit if need. But you’re right, JSON is much better, and by the way, I plan to add the message edit feature.
Excactly what I was looking for. Can I treat it like a journaling for every single entry? And can you probably help me to install it? Im pretty new to grist. Would really much appriciate it.
Edit: Using the desktop version. Found the documentation. My goodness this is absolutley amazing.
Love you.
This is a beauté
Just tested and adopted.
Thank you so much!
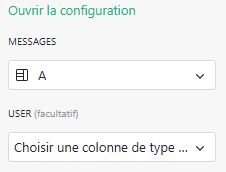
The only thing is that my name isnt added to the message, whereas i set up the trigger user.name formula and it appears correctly in the column…and it is well mapped… i might have missed something
Hum, I don’t know, when I look at your page, I see that the last messages are named Anonymous, and if I try myself, I also see my message with Anonymous, even if I empty the C column first.
And it’s still working on my example page…
Is it possible that the instance hosted by anct not correctly define user.Name? Is the Name value in your account parameter display the right value?
Any error in the browser console (F12) ?
In the code, I wait that each update on the row is managed by the server before continuing, so I guess it’s not an issue of timing.
Hi, thanks a lot for checking it out! On the ANCT instance the user.Name is working correctly (i did add a column user.Name, and it returned the value, but it wasn’t appearing in the widget row), but…good news, i just re-tested today and it’s working fine now! awesome, thank you
first time i used the widget, i read the doc and created the user.name column and mapped it correctly, but it wasnt working, see the snapshot here with the well-mapped field:
last time i used the widget, it was working well, my name appeared correctly, and i thought i added the user.Name column for testing purposes - i forgot that the column was used for the widget so i deleted the column
then it wasn’t working anymore…obviously! So i added a user.Name column again to show that it’s working in the column…
Sorry for that mess. But i see you’ve made no changes to the code between the 9th april and now, so i don’t understand why it wasn’t working in the first place…
okkk it’s a matter of reloading the page! if i don’t reload the page after setting up the user column, it won’t work. This explains that.
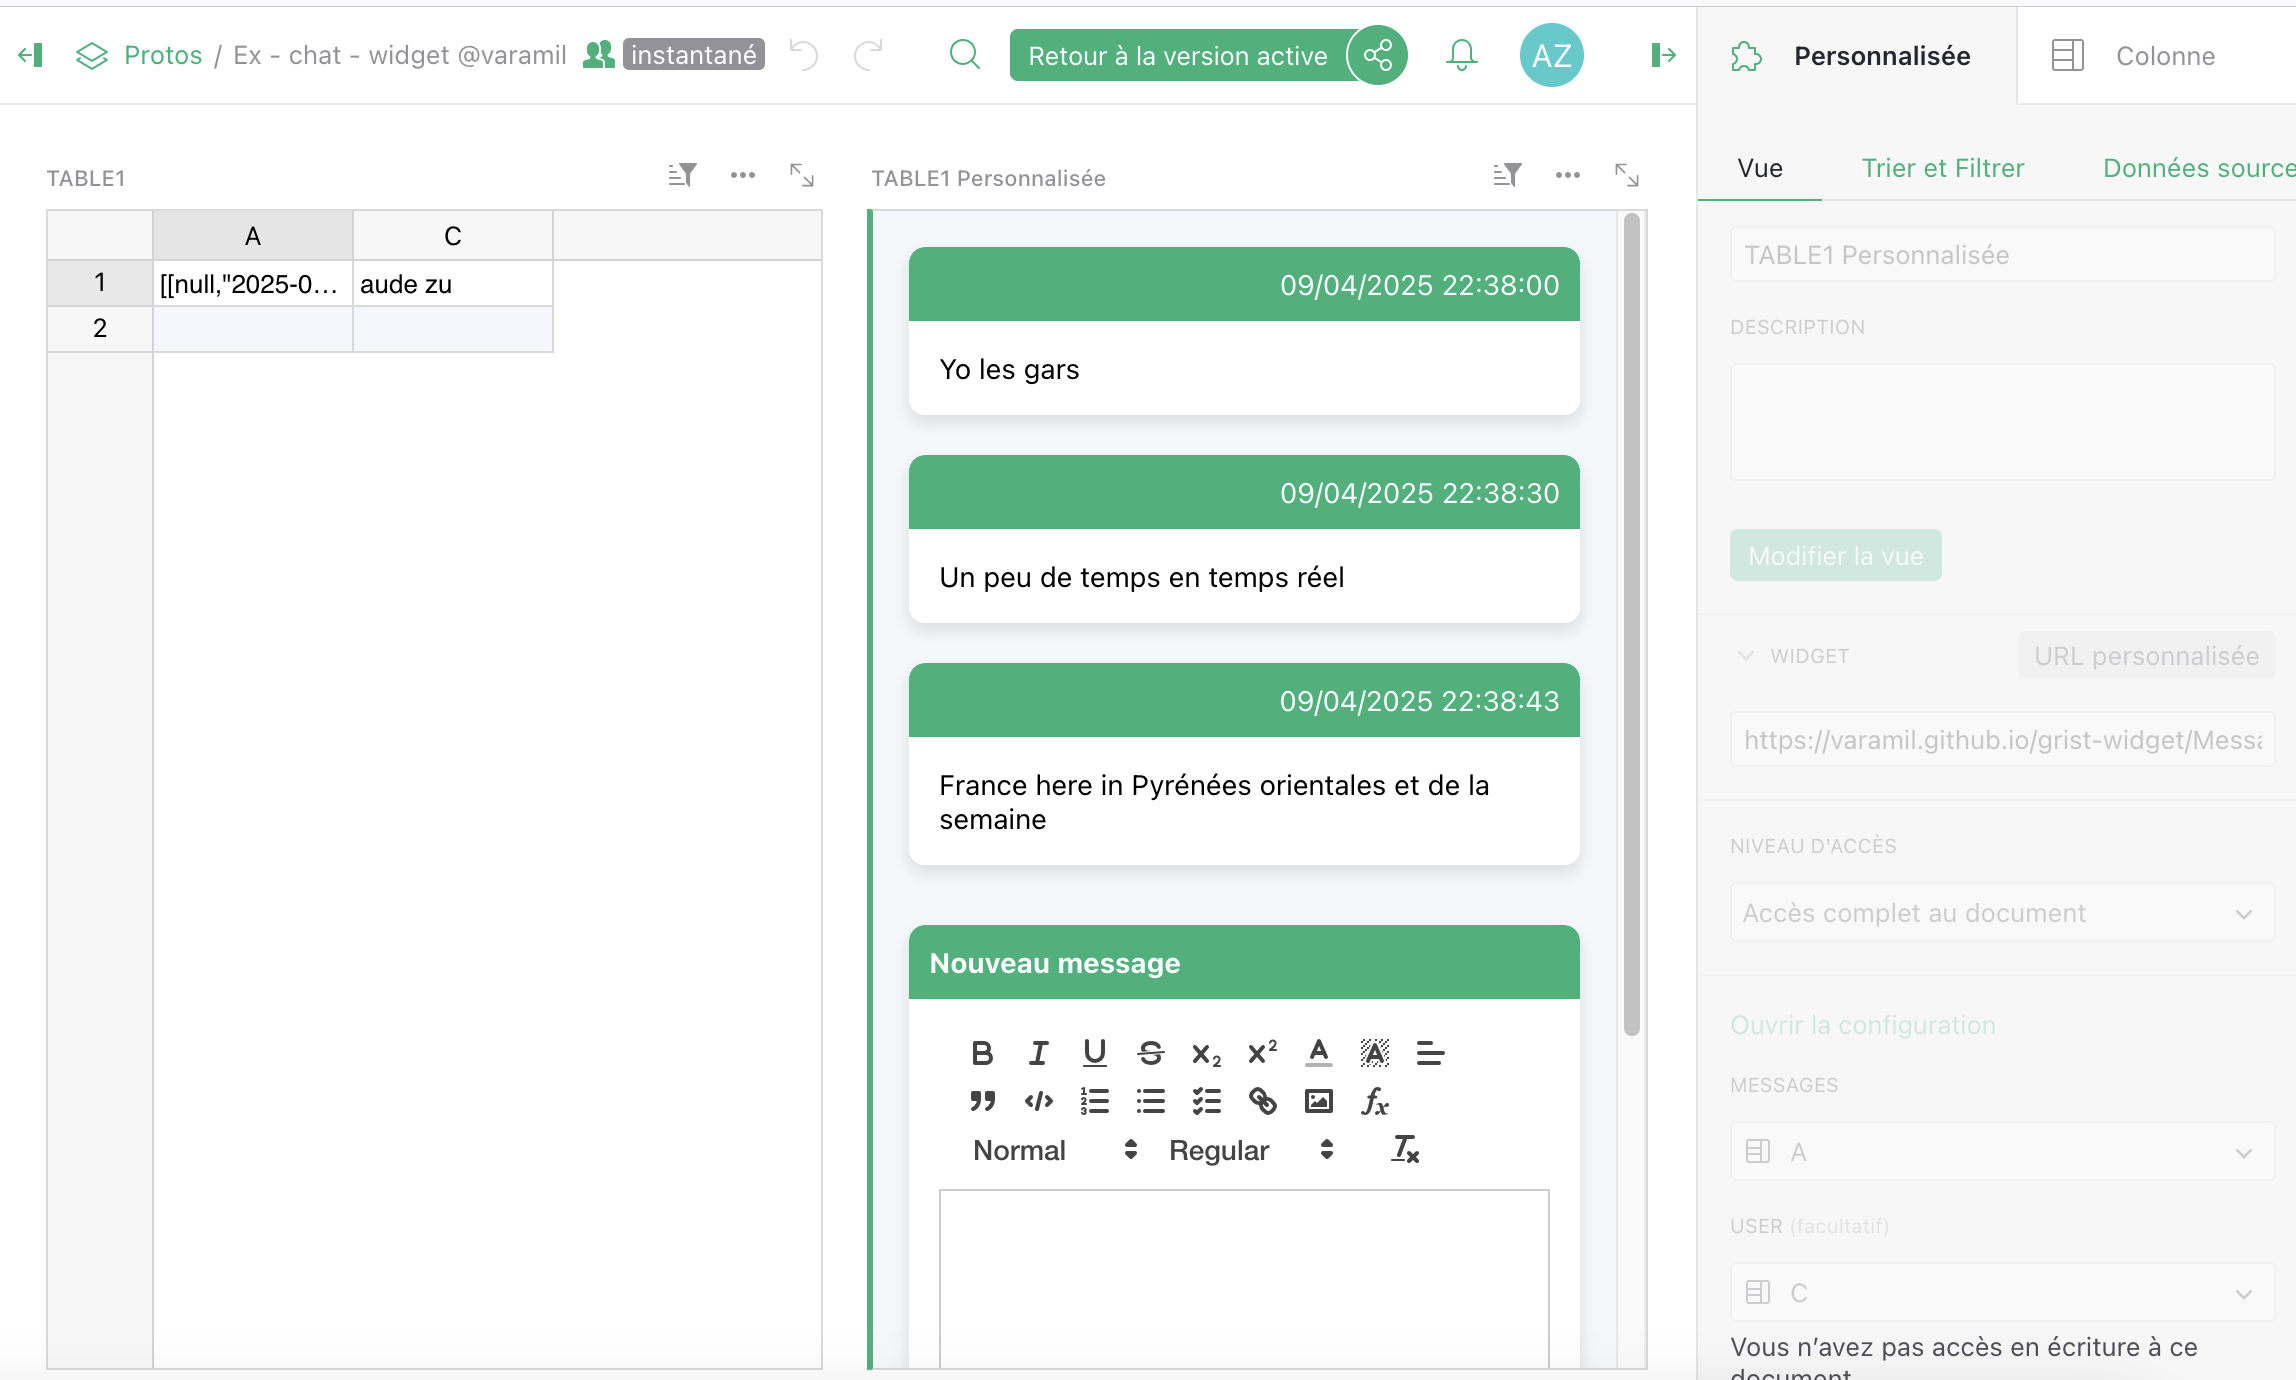
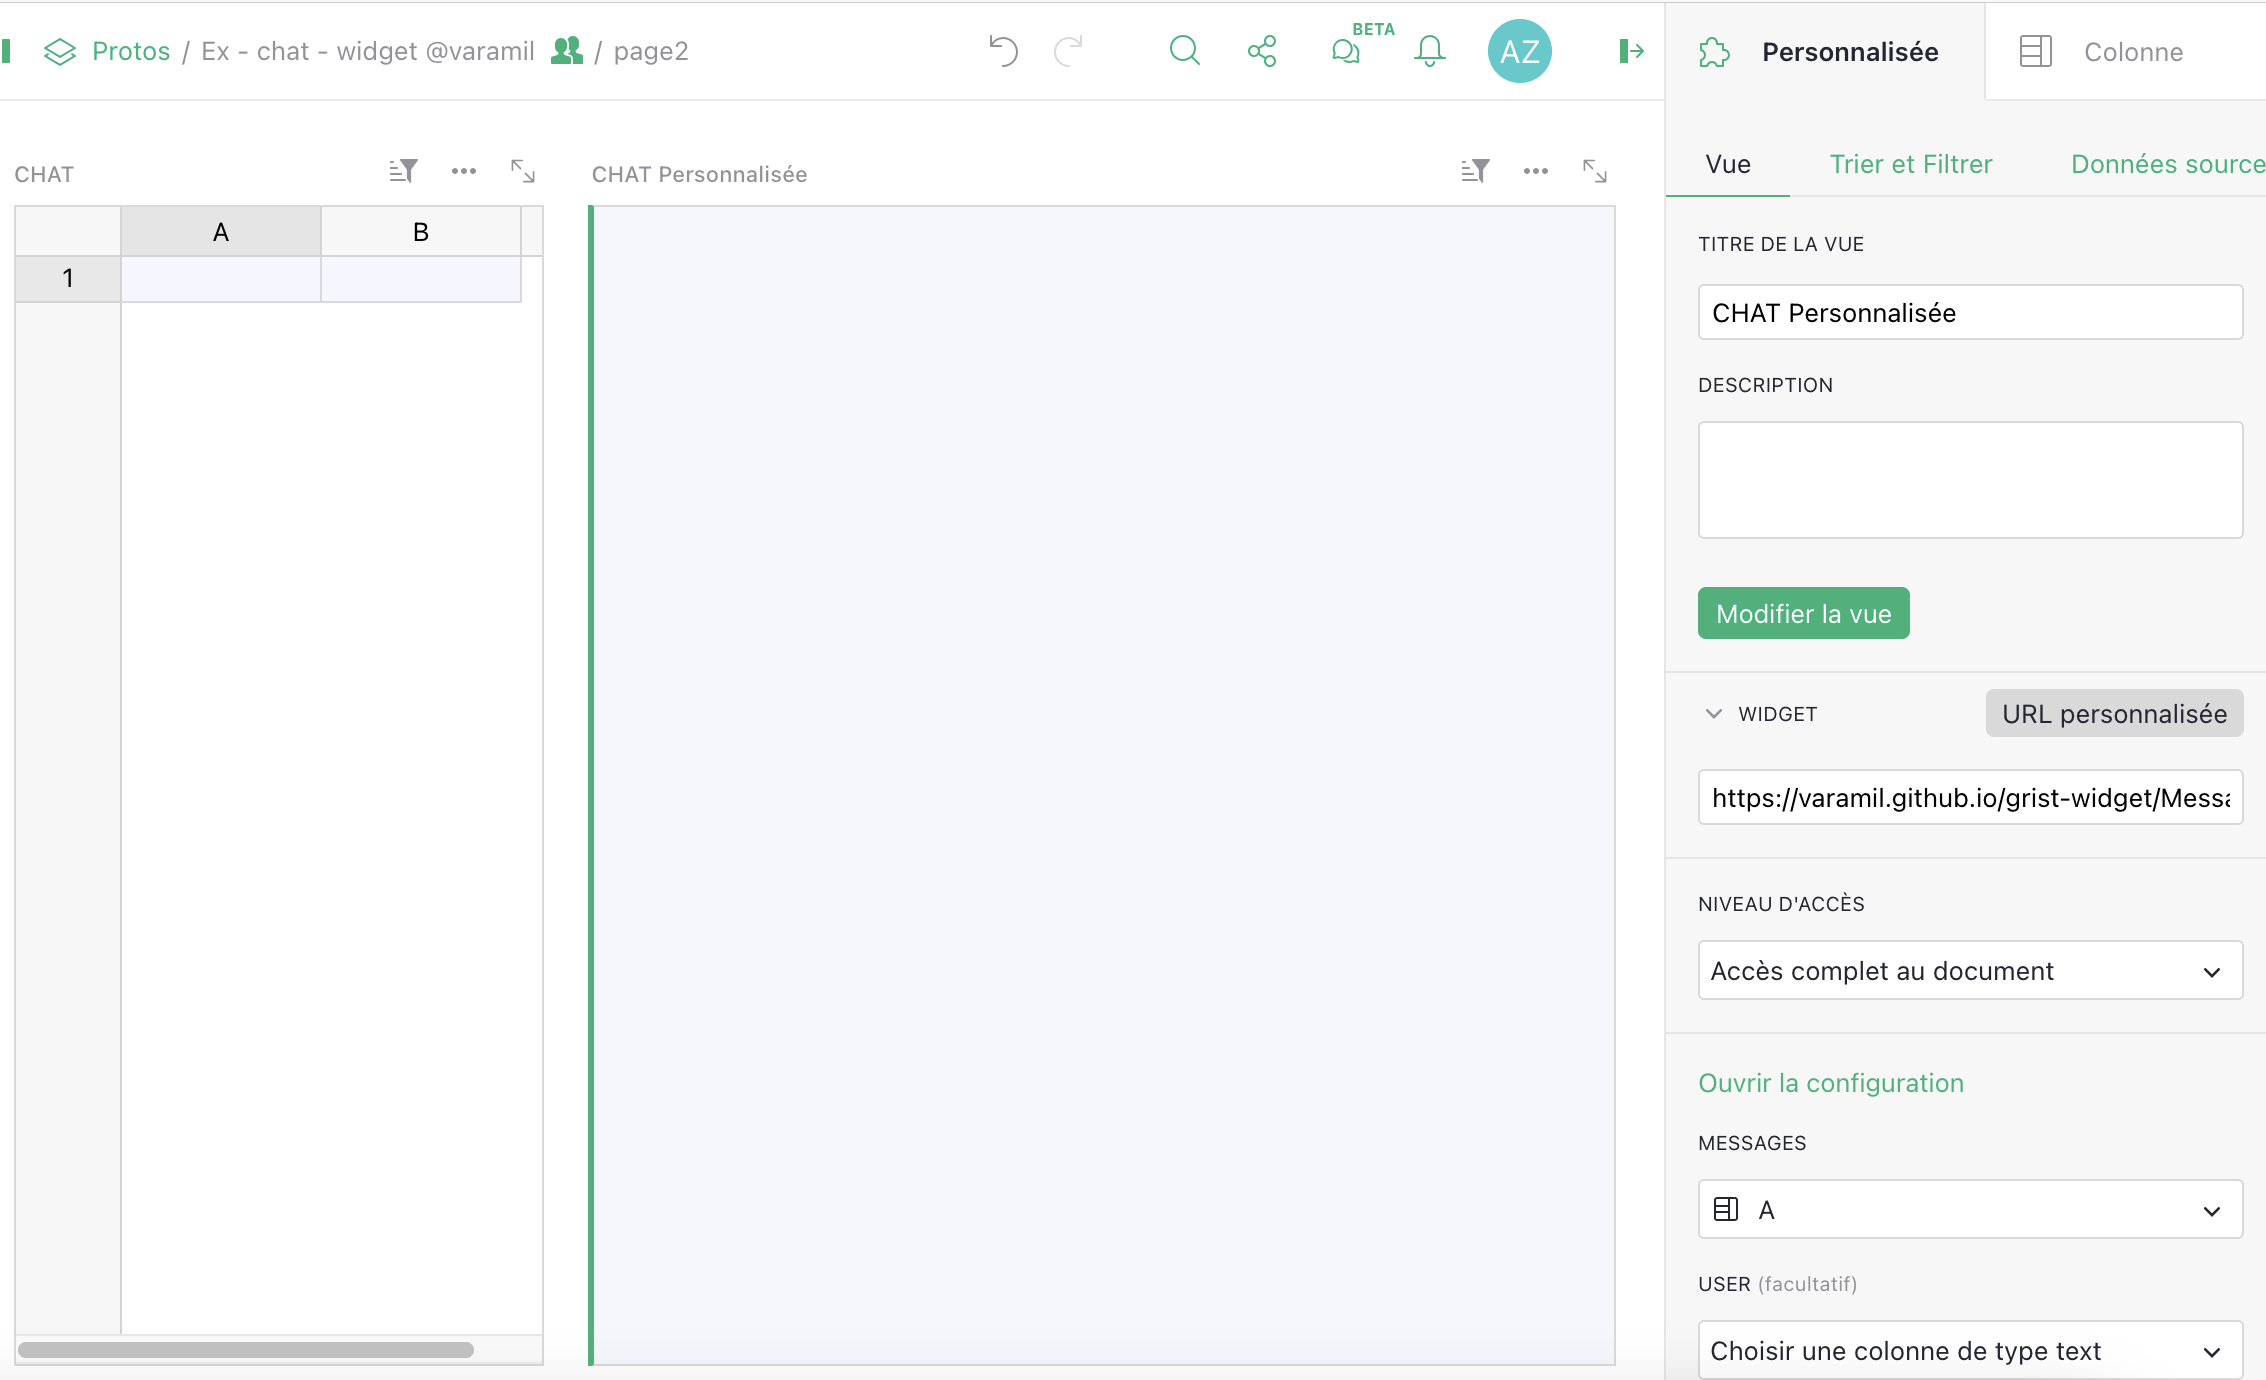
Oh no i got another issue: i wanted to start all over, so i created a new page and added the widget, allowed the access, mapped it to my text column ‘A’ but i got no UI appearing
Regarding your first issue, I haven’t updated the code, so probably a mix of wrong configuration, page no reloaded after configuration, and maybe server update.
Happy to see it’s working now.
Now about your last issue, the UI is masked when you select the “New row”, so you need to add a 3rd column and populate it once to create a row. Then the UI should be available.
The widget do note create a row by it self.
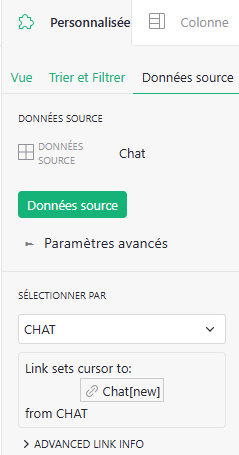
@aude and I just see you added a page on your shared document. What I’ve said previously remain correct, but also you forget to link the table selection to the widget.
Select the widget, “Data Source”, and the “Selected by” => “Chat”